Requirements
To use the Formal Connector with Snowflake, you must have access to your Snowflake account and the necessary permissions to manage resources within it.Configuration
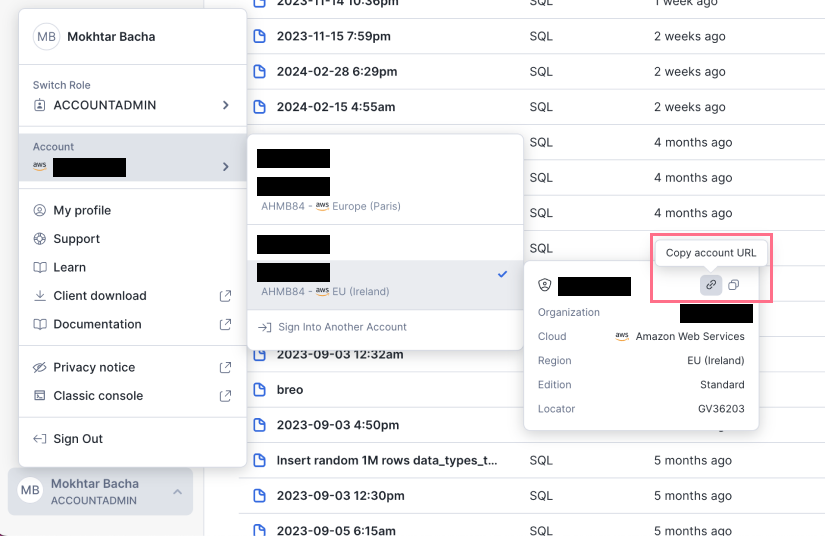
- Snowflake account URL: Your Snowflake account URL, typically in the format
X.Y.snowflakecomputing.com. Refer to the displayed image for clarity.

- Snowflake username and password: These credentials will be used by Formal users to connect to your Snowflake account.
TLS Configuration
TLS must be enabled for secure communication. You have two options:- Formal-Managed TLS: Formal wil manage the TLS Certificate for you, providing you with a domain of the format
.YOUR_ORG_NAME.connectors.joinformal.com. - Self-Managed TLS: If you prefer to manage the TLS certificate yourself, follow these steps:
- Obtain a TLS wildcard certificate.
- Add CNAME records for
account.hostname,s3.hostname,backend.hostname, andapp.hostnameto your DNS. - Provide the TLS certificate through environment variables:
When Formal manages the TLS certificate, the Network Load Balancer (NLB) must be internet-facing.
Connecting to Snowflake
With the above configuration complete, you can now connect to Snowflake using the specified hostname and Formal credentials.Connecting to Snowflake via Retool
- Configure the Connector for Snowflake: Ensure your Formal Connector is correctly set up to proxy Snowflake connections.
- Update Retool Resource: Retool requires an account identifier to connect to Snowflake. However, to use Formal with Snowflake, you need to bypass this limitation by ensuring Retool supports custom connection options similar to PostgreSQL resources. This allows for more flexible connections, including the ability to specify the full HTTP URL instead of just the account identifier.
- Custom Snowflake Hostname: For a successful connection, it’s crucial to set a custom Snowflake hostname that points to the Formal Connector. This is necessary because Retool’s default configuration might not support the direct use of custom domains for Snowflake connections.
- Connection String: Use the following JDBC connection string format for connecting to Snowflake through Formal:
Policy Evaluation
Formal supports the following policy evaluation stages for Snowflake:- Session: Evaluate and enforce policies at connection time
- Pre-Request: Evaluate and enforce policies before query execution
- Post-Request: Evaluate and enforce policies after data retrieval
Troubleshooting
Common Issues and Solutions
- Ensure TLS certificates are correctly set up, and DNS records are pointing to the NLB.
- Verify JDBC driver compatibility, especially if using self-signed certificates with Formal.
- For a “403 Forbidden” error, check that the Formal Resource has the correct account URL configured.